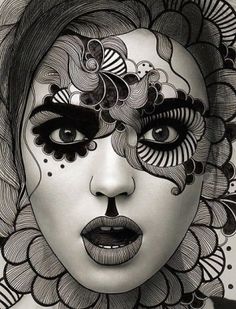
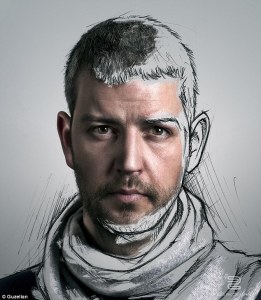
Still stuck for ideas? Here are some examples that fulfill the project requirements:
To create your project in Photoshop:
- Make a new file with the following dimensions: 11×14 inches or 14×11 inches at 300 pixels per inch
- Open the photo or photos you would like to start with, and drag them into your project file. (Do not use the “place” feature!) If you plan to combine multiple photos (such as using a subject from one photo and a background from another), do this now. Make sure you are happy with the composition and how the subject interacts with the background before you begin drawing over anything.
- When you are ready to start drawing, make a new layer by clicking on the new layer button
 at the bottom of the layers palette on the right side of the screen.
 - Select the brush tool
 from the tools bar on the left side of the screen.
 - Begin drawing over your image. Make sure you are on the new layer you have just created and are not drawing on your source photo!
- Repeat steps for each color. Make sure you create a new layer for each color and object.
You may want to use a tablet and stylus to draw.
Today we will:
- begin creating our rotoscope-inspired illustration
- create a new blog post with the following:
- your project progress so far
- a few sentences describing your vision for the project, as well as any skills you would like me to teach you


